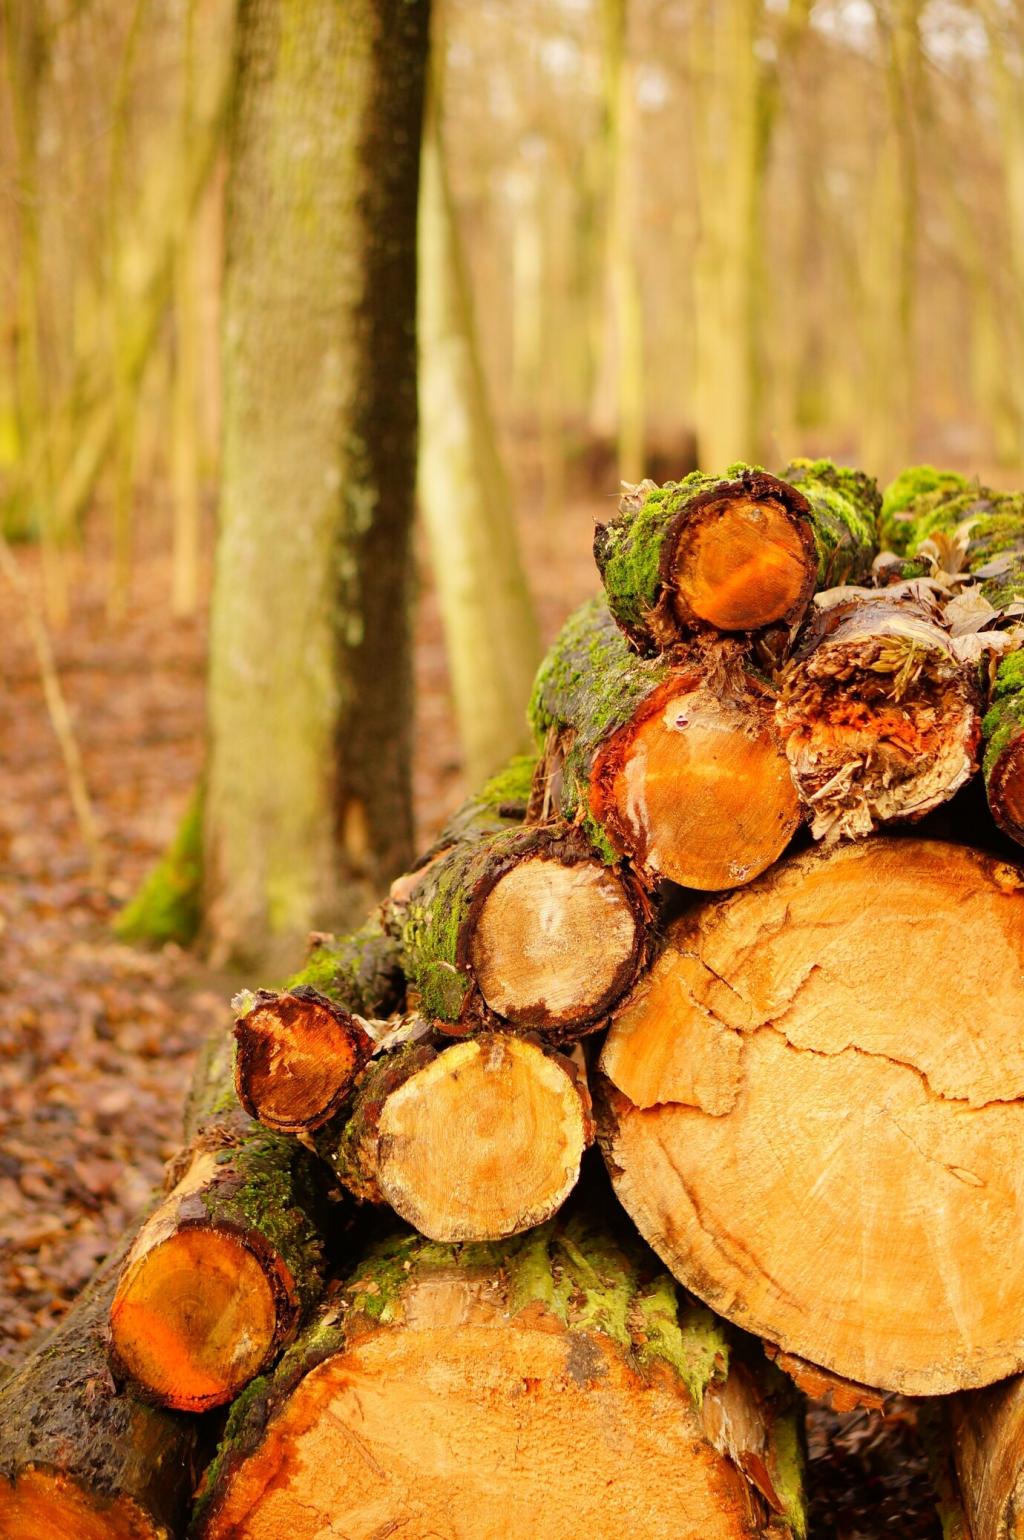
Picking the Right Finish for the Job
Tables face spills, heat, and constant wiping. Oil-modified polyurethane or a high-quality catalyzed varnish offers robust film protection. Hardwax oils provide repairable beauty, but need regular care. We once rescued a spaghetti-night disaster with a quick scuff and recoat. What’s your must-have: stain resistance or that hand-rubbed feel?
Picking the Right Finish for the Job
Foot traffic demands abrasion resistance and easy maintenance. Waterborne poly with aluminum-oxide additives delivers durability and fast recoat times. Satin sheens disguise micro-scratches better than gloss. Always perform adhesion tests before recoating an unknown floor, especially over old waxes. Share your toughest floor challenges; we’ll help you choose wisely.